Wednesday, May 28, 2014

1 month in - Garden update!


Remember all those little seeds I planted, then transplanted? They are growing well!

Some of my seedlings average heights so far:
Tomatoes 3 inches
Carrots 1-3 inchess
Broccoli 2 inches

The broccoli is not supposed to be growing at all because of the heat outside, but it seems to be doing well so far. I have been keeping the soil wet, and providing partial shade as much as I can to it to help keep it a little cooler.

My 2 starter tomato plants are producing green tomatoes, and a lot of them. They have grown over 2 feet since I planted them!

My blueberries are not yet blossoming, but I haven't researched much on when they blossom in Florida... I might have to do a little research on that soon :)

My 2 cucumber starter plants are doing well, one of them is over 10 inches tall, the other is about 8 inches.  They are also almost long enough to start climbing their trellis.

Our starter strawberries are growing and we have a few red strawberries on them as well! I don't know if they will ever get all the way red because my kids keep picking them all before they have a chance to fully ripen!  I love that my kids are so excited about helping out in the garden, and they run out there often to see if there are any red tomatoes or strawberries ready to be picked.


My celery is growing well in the window seal. It is about  inches tall already! I have 2 stalks "re-growing" from the base  (see previous blog on replanting celery). I have it indoors because it doesn't grow well in heat, and is a cold weather vegetable. It is growing great so far in my kitchen window. I have had to aerorate it frequently to avoid mold growing because it is growing indoors it needs a little extra treatment. I water it just enough to keep the soil moist, about every other day.

Sunday, May 25, 2014

Vertical Cucumbers


Well a little about cucumbers to start with, they are very easy to grow and are very prolific. They need to be planted in a section of the garden that receives full sun and has an evenly moist, fertile soil. With that, success is almost guaranteed.
Like other summer vine crops, cucumbers are heavy feeders and demand a steady supply of water. Work plenty of organic matter (compost, well-rotted manure) into the soil before planting to help it retain moisture and to provide the nutrients the cucumber plants will need throughout the season. 

I read an article recently about growing vegetables vertically. I really like this idea because it keeps all the produce off the ground and according to research, it dramatically increases yields because the vines receive better air circulation and more sunlight than vines on the ground. I am trying this concept out with cucumbers. 

My grampa helped me make a trellis for them to climb. We decided 5" squares should work well. I'm hoping it will gives the cucumber plant a little more light by having more space, and plenty of room to fall through the holes for growing. (We also made one standing vertical for Jessalynne's green beans to climb and gave it a little extra support). If the cucumbers grow well, I am anxious to try the vertical gardening with some other fruit/vegetables like melon and tomatoes. I read that tomatoes grow really well vertical (or hanging). 

2014 is my garden guinea pig year. My year of trial and error. I am hoping to be successful as a new Floridian, but I know it will likely take a few years to workout all the kinks of what works, and what doesn't. My planting/harvest timing is also going to be a huge experiment this year!

Wednesday, May 21, 2014

RIP Vegetables (thanks to my son...) LOL

So most people plant their garden and worry about deer eating their plants, squirrels swiping their produce, bugs infesting, maybe even different molds growing... Well I planted my garden knowing I would have a constant and consistent fight with my son. He loves the dirt, and he loves to "help". Here's a funny little story about my son helping me with my garden.

I went out to water my garden the other day, and I found some of my plants were missing! They weren't eaten, or missing parts of the plant. They were literally dug up with a hole left in their place. "What on earth happened to my vegetables!?!?" I asked knowing immediately who the culprit was... Brixton, my 2 1/2 year old. Oh boy! He dug up several of my plants and put them back in the plastic containers we brought them home from the store in... Clever Brick, real clever! Unfortunately, they were not salvageable and didn't make the "re-transplant". I did promptly throw all the old containers out so he wouldn't try to replant any other plants in them again!


RIP banana peppers, tomatoes and marigolds, you will be missed!

Saturday, May 17, 2014

Transplanting seeds!

So I finally the last of my beds filled with dirt so I could transplant my little seedlings! I bought these little white garden stakes off amazon (100 for $6) and my girls helped me make tags for all the garden items so we would know what everything was. We just wrote on them with permanent marker. (UPDATE: after a week they started fading drastically). We then picked out our transplant plants that seemed to be "thriving" the best, and planted them in the garden. The kids got to help with the transplanting and watering. I have 2 large garden beds, 2 small garden beds and several pots. I am picking up more buckets/pots today.

What are we growing you ask? Well, as of right now, almost everything is organic. So far we have 2 rows of purple dragon carrots, 2 rows of regular carrots, 1 full tomato plants, 1 cherry tomato plant, 6 bell pepper plants, 1 sweet pepper plant, 2 cucumber plants, 1 watermelon plant, 4 strawberries, 3 broccoli, 1 cauliflower, 1 celery, 11 tomato transplants (roma and beefsteak), 4 green bean, 2 blueberry bushes, 4 marigolds, and 2 citronella plants (hoping to ward off some of our mosquito this summer). It's a pretty good start, right?

Wednesday, May 14, 2014

Spaghetti Sauce (with whole tomatoes) - Pressure Canning Recipe

I went to our local Farmers Market yesterday and I scored on tomatoes! They always have great deals, but I got a 30 pound box for $10. So I grabbed a few onions and peppers while I was there and decided I was going to make spaghetti for dinner, and do some pressure canning to follow.

I don't do a lot of measuring when I cook, I usually add a little and taste, add more and taste until I get it where I want it. I tried to get a rough estimate as I was adding spices and such so I could "create" a recipe to share. My suggestion is to take this "base" recipe and alter it to suite your families liking. Some people like mushrooms, some don't. Some people like adding red pepper flakes, others don't. I made a meat free sauce, so if you would like to add meat make SURE you alter your cook pressures/times as needed.

Great veggie additions to this sauce are mushrooms, sliced zucchini and sliced carrots.

Ingredients:
30 lbs tomatoes
5 cloves garlic, minced
1 cup chopped onions
1 cup chopped bell peppers
3 tsp garlic salt
2 tbsp oregano
1 1/2 tbls basil
2 tbsp minced parsley
2 tsp black pepper

**MEAT OPTION: 2-1/2 lbs ground turkey, beef or sausage cooked until brown (again make sure you adjust canning time if you add meat)


Yield: About 9 pints (we ate if for dinner so and I canned the rest so this is a rough estimate as well)

Procedure:
Prepare all of your cans, lids and rings in advance and have them ready to go.
1) Dip tomatoes cold water and slip off skins. Remove cores and quarter tomatoes. Boil 20 minutes, uncovered, in large saucepan. Put through food mill or sieve. I like my sauce a little chunky so I only blend about half my tomatoes and leave the other half really chunky.
2) Bring to a boil. Simmer uncovered, until thick enough for serving. If you feel like this is too thin you can add a small can of tomato paste. If you feel it is too thick add a can of tomato sauce. As I said this recipe is very flexible to meet your needs.
3) Saute onions, garlic, celery or peppers, and mushrooms (if desired) in vegetable oil until tender. Combine sauteed vegetables and tomatoes and add remainder of spices, salt, and sugar.
4) Stir frequently to avoid burning. Fill jars, leaving 1-inch headspace.

Process for 25 minutes - If you are 0-1000 ft altitude process at 10 pounds pressure, if you are above 1000 ft process at 15 pounds pressure.

After the canner is completely depressurized, remove the weight from the vent port or open the petcock. Wait 10 minutes; then unfasten the lid and remove it carefully. Lift the lid with the underside away from you so that the steam coming out of the canner does not burn you. Place jars on a towel on the counter, standing upright. Check them after 24 hours to make sure they have a good seal.

Saturday, May 10, 2014

Building Raised Garden Beds

My husband finally got a break from work and helped me finish the last of my garden beds. We used 2x4 and 2x6 pieces of wood with stakes in the corner to strengthen them and screws to hold everything together. My kids love helping, especially when it comes to the garden so even though it is extra stressful sometimes, and everything takes even longer, we try to let them help as much as possible. I hope by allowing them to help, plant, water and watch the seeds grow, maybe they will be more excited about eating (and better enjoying) the fruits of our labor. Jess (age 6) has been writing about it during her free writing time in school (kindergarten) so I know she has been thinking about it, and is excited to watch everything grow. Brixton (2 1/2) just likes to dig everything up and play in the dirt... but hopefully once the little red tomatoes start growing he will enjoy picking them and eating them! Chloee (age 4 1/2) loves to help, but said she would like to give her share away to someone else who needs it (so she doesn't have to eat it)... I'm hoping as stuff grows she will change her mind LOL.
Once we finished the boxes, I stapled weed barrier to the bottom of the bed in hopes of keeping my nice well composted dirt from mixing into our Florida dirt (sand) too much. *Fingers Crossed*. Then I will just need to pickup a little bit more dirt to finish filling them so I can start getting the rest of my seedlings all transplanted. Not a bad start... I'm anxious to see how this first year of gardening in Florida goes!

Thursday, May 8, 2014

Regrowing Celery from your stalk

Here is a fun little gardening project the kids can easily help with. You can use the base of your celery stalk that you would normally throw out or compost, and regrowing more celery from it.  My kids enjoyed watching the roots slowly grow, and adding fresh water to the bowl every day. They checked it every morning to see how big the leaves were getting, then helped me transplant it into the garden.

Start off by cutting the bottom of your bundle of celery, leave maybe 1-2 inches of the "butt" on there. Place it in a bowl of warm water (facing up) in a window seal, or somewhere it can get light. After a few days leaves will start sprouting. The leaves grow very quickly over the first few days, and you will start noticing the roots coming out the bottom as well. I would recommend rotating your dish each day so all angles of the plants are getting sunlight.


Then, you can the celery in your garden, covering everything but the leaves. I am only about 3 weeks in on mine but I read it should take 3 months or so. Then as your celery stalks grow, cut off as much as you need. As long as you leave the root in the ground, your celery will grow back again and again.


Something you might want to know about growing celery successfully. It likes fertile soil, cool temperatures, and constant moisture. It will not tolerate heat and can be hard to transplant. 

Monday, May 5, 2014

White Chicken Chili- Pressure Canning Recipe

My first recipe post and I am so excited about this one, it is a favorite in my house. First let's talk a little about the reason we need to use a pressure canner and not a water bath. When I first got started with canning, I had no idea what the difference was, and why it was SO important to know. Canning any low acid foods (all unpickled vegetables, vegetable stocks, meats, beans ect) require a pressure canner The reason for that is that although botulism bacteria is killed at the temperature of boiling water, botulism spores can survive that temperature. The spores can be eliminated by temperatures hotter than boiling water, which requires a pressure canner, or by creating an extreme pH (pickling).
All acidic foods - fruits, pickled vegetables, sugar preserves, and tomatoes with a little added acidity (lemon juice, vinegar, or citric acid) - may be safely processed in a boiling water bath.

So today I am pressure canning white chicken chili. It is simple to make, and delicious!

Ingredients
1 tbls extra virgin olive oil
2 chopped bell peppers (I used one red and 1 green for color variety)
3 heaping tablespoons of minced garlic
1 can diced tomatoes (or equivalent of fresh diced tomatoes)
1 7oz can of green chilis
3 to 6 tablespoons chili powder
2 tablespoons cumin
2 teaspoons oregano
16 oz of chicken broth (can or box)
3 cups of water
1/2 -1 cup of corn (your preference how much your family likes corn)
3 decent sized chicken breasts (boil simmering in about 2 inches of water and some Cumin and chili powder until you can easily shred them)
3 cups dried great Northern Beans (or other white variety)
1 cup Black beans, rinsed well.


Directions:
1.) Prepare pressure canner. Heat jars and lids in simmering water until ready for use. Do not boil. Set bands aside.
2.) Heat extra virgin olive oil with onions and garlic, cook until soft.
3) Add remaining ingredients. Bring to a boil. Reduce heat and simmer for 30-45 minutes, stirring occasionally.
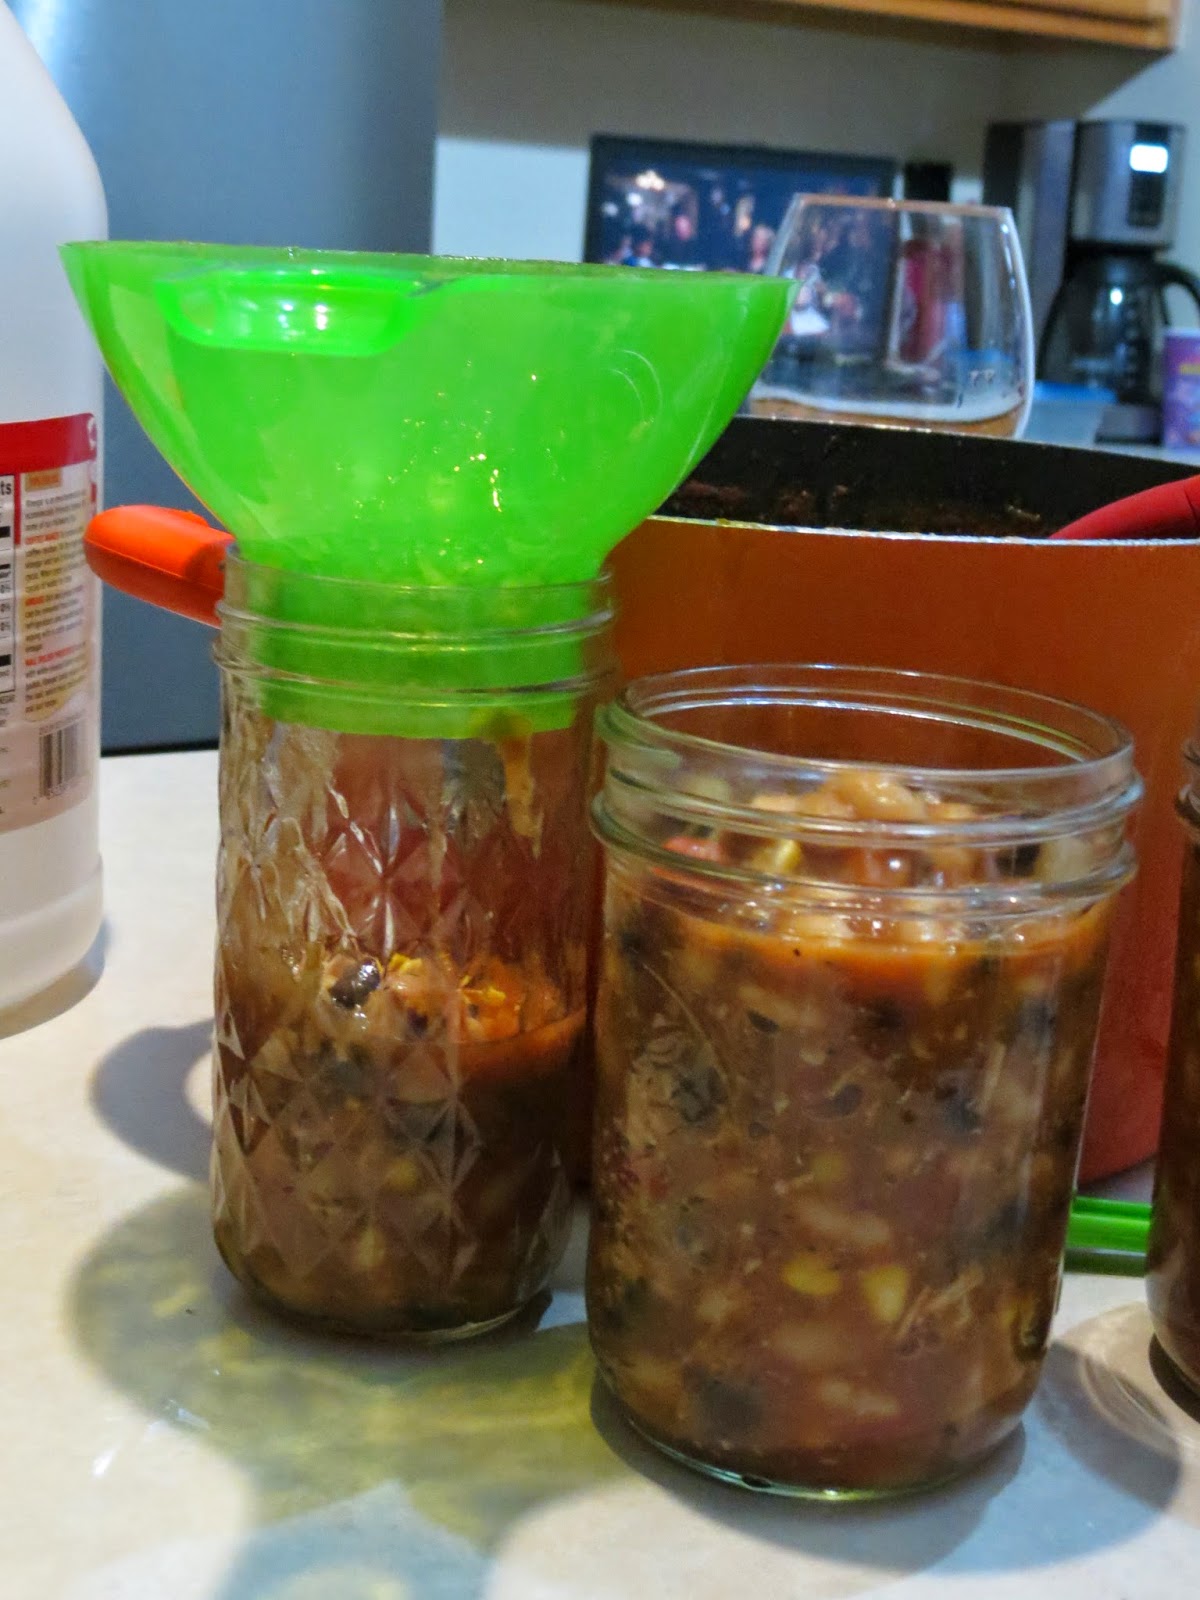
4.) Ladle hot chili into hot jars leaving 1 inch headspace. Remove air bubbles. Wipe rim. Center hot lid on jar. Apply band and adjust until fit is fingertip tight.
5.) Process filled jars in a pressure canner at 10 pounds pressure 1 hour and 30 minutes for pints, adjusting for altitude.
6) Remove jars and cool. Check lids for seal after 24 hours. Lid should not flex up and down when center is pressed.