My first recipe post and I am so excited about this one, it is a favorite in my house. First let's talk a little about the reason we need to use a pressure canner and not a water bath. When I first got started with canning, I had no idea what the difference was, and why it was SO important to know. Canning any low acid foods (all unpickled vegetables, vegetable stocks, meats, beans ect) require a pressure canner The reason for that is that although botulism bacteria is killed at the temperature of boiling water, botulism spores can survive that temperature. The spores can be eliminated by temperatures hotter than boiling water, which requires a pressure canner, or by creating an extreme pH (pickling).
All
acidic foods - fruits, pickled vegetables, sugar preserves, and tomatoes with a little added acidity (lemon juice, vinegar, or citric acid) - may be safely processed in a boiling water bath.
So today I am pressure canning white chicken chili. It is simple to make, and delicious!
Ingredients
1 tbls extra virgin olive oil
2 chopped bell peppers (I used one red and 1 green for color variety)
3 heaping tablespoons of minced garlic

1 can diced tomatoes (or equivalent of fresh diced tomatoes)
1 7oz can of green chilis
3 to 6 tablespoons chili powder
2 tablespoons cumin
2 teaspoons oregano
16 oz of chicken broth (can or box)
3 cups of water
1/2 -1 cup of corn (your preference how much your family likes corn)
3 decent sized chicken breasts (boil simmering in about 2 inches of water and some Cumin and chili powder until you can easily shred them)
3 cups dried great Northern Beans (or other white variety)
1 cup Black beans, rinsed well.
Directions:
1.) Prepare pressure canner. Heat jars and lids in simmering water until ready for use. Do not boil. Set bands aside.
2.) Heat extra virgin olive oil with onions and garlic, cook until soft.
3) Add remaining ingredients. Bring to a boil. Reduce heat and simmer for 30-45 minutes, stirring occasionally.
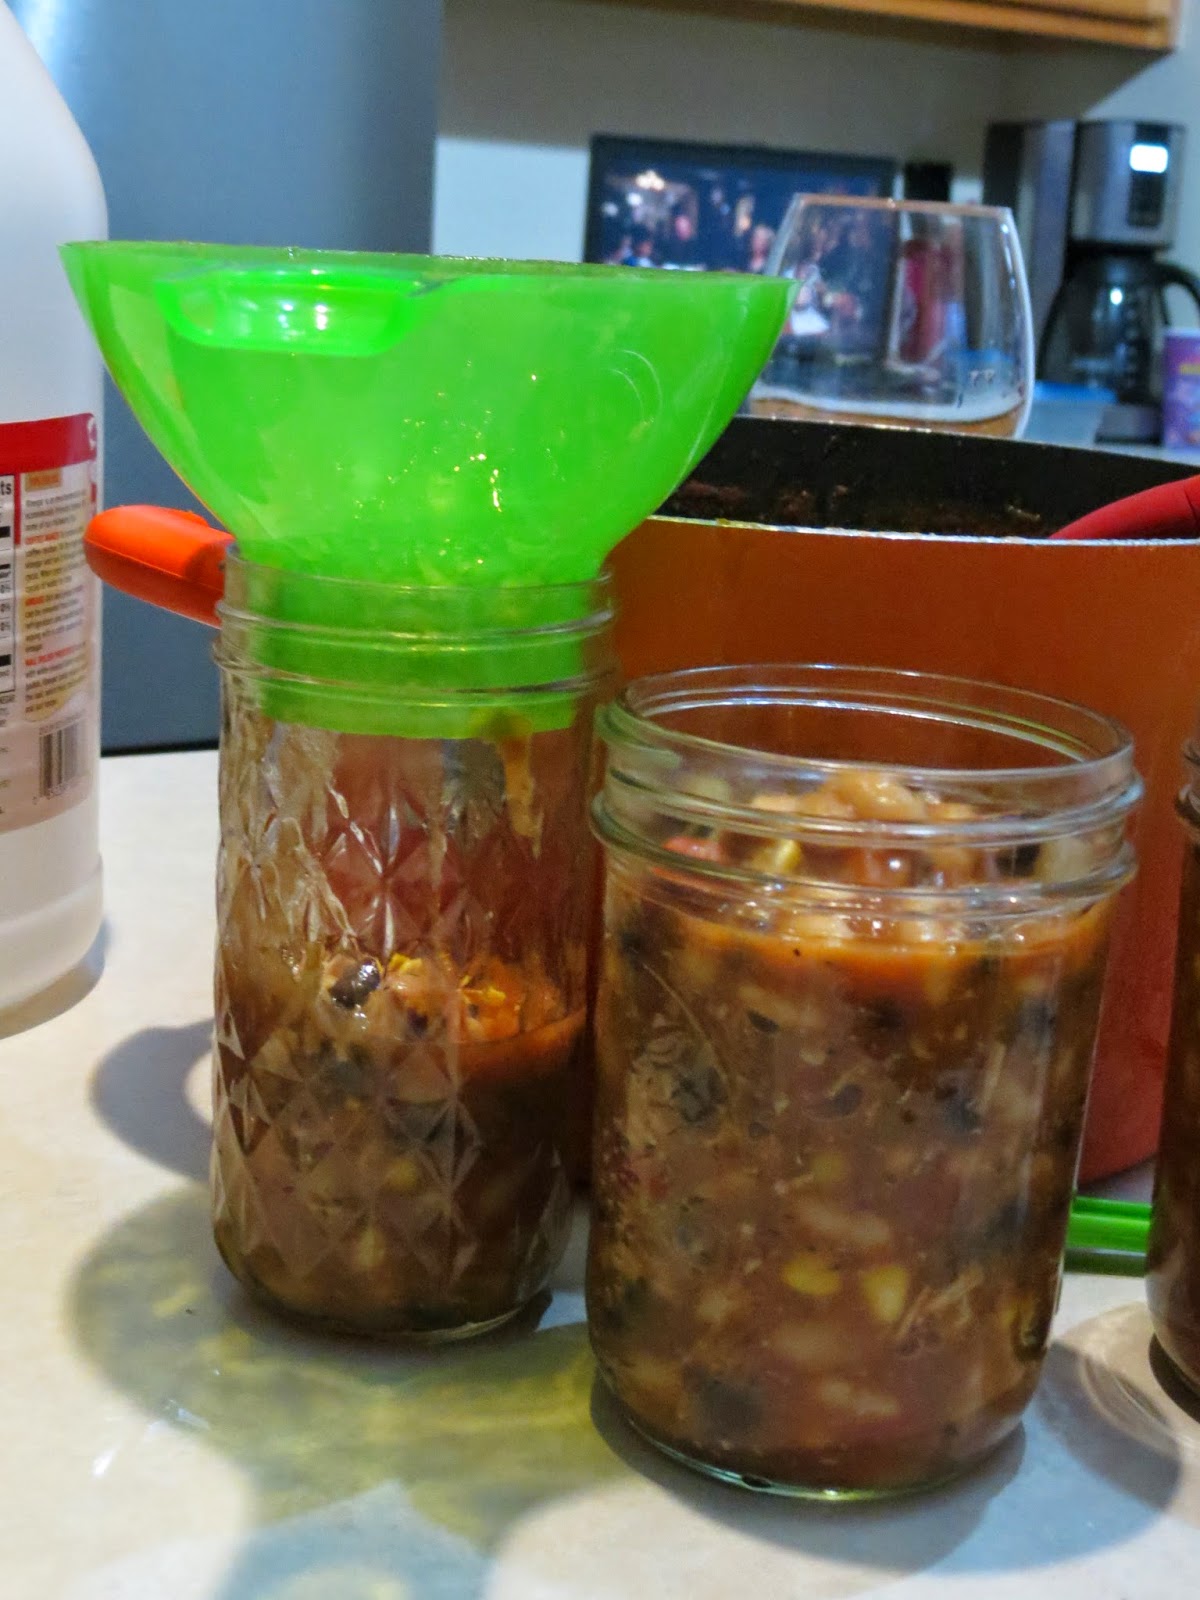
4.) Ladle hot chili into hot jars leaving 1 inch headspace. Remove air bubbles. Wipe rim. Center hot lid on jar. Apply band and adjust until fit is fingertip tight.
5.) Process filled jars in a pressure canner at 10 pounds pressure 1 hour and 30 minutes for pints, adjusting for altitude.
6) Remove jars and cool. Check lids for seal after 24 hours. Lid should not flex up and down when center is pressed.

 Peaches and Cherry's in one jar? Probably sounds a little strange, but it turned out to be one of my most requested jelly's by my family members. Even if you aren't a huge fan of peaches or cherry's, something special happens when you combine them together. It makes this delicious sweet & tart jelly. It's perfect on a slice of homemade bread for breakfast. Or a snack. Or really, anytime. This makes a fun gift during the holidays because it is "different" so people are usually pretty eager to try it.


.jpg)
.JPG)
.JPG)
.JPG)
.JPG)
.JPG)